Sunday, April 14, 2013

Blog Hop Winner

Good morning!  I am behind with posting the winning commenter from the blog hop - sorry!  I used the trusty random.org to select a winner and here she is:


Congratulations Andrea!

Make sure you check out Karen's blog for the grand prize winner:  http://sitscrapandrelax.wordpress.com

Monday, April 8, 2013

Skrap'n'Chat Blog Hop

Welcome to the Skrap 'n Chat Blog Hop!  I know Karen had some wonderful inspiration for you at her blog which started us off.  If you haven't been there yet, you must stop by.  http://sitscrapandrelax.wordpress.com


Skrap 'n Chat has become home to me since I joined it a couple years ago (maybe more now?).  Everyone is so friendly and welcoming that you fit in right away.  There are monthly challenges posted by the Design Team and a lot of inspiration to be found.  And the online crops can't be beat!  I always make sure to reserve a day during the weekend of a crop so I can scrap, scrap, scrap.  :D

Now, on to the specifics.  Welcome to Scrapping Therapy!  This is the second stop on our hop and I hope you find some inspiration here.  Our theme for this hop is all about masking.  I'm not a huge mister - I do it sometimes, but it's certainly not on every one of my layouts.  So, I haven't purchased any stencils or masks.  That meant that I had to make my own to do this hop so I had to get creative.  I decided to do an easy one.
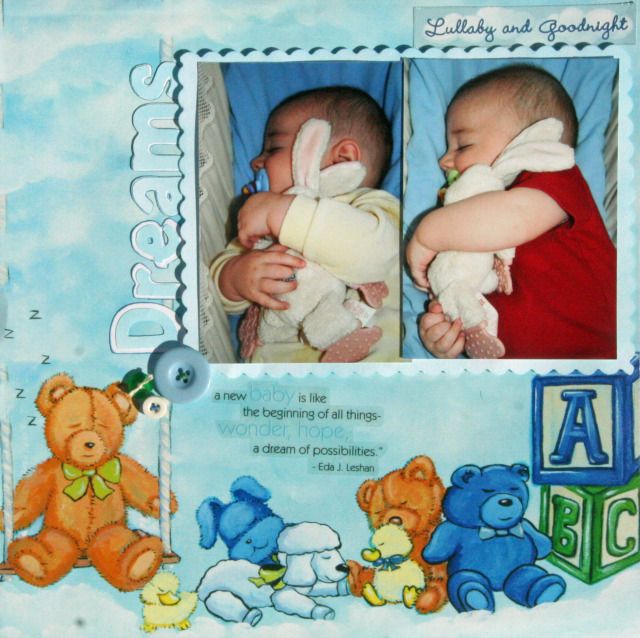
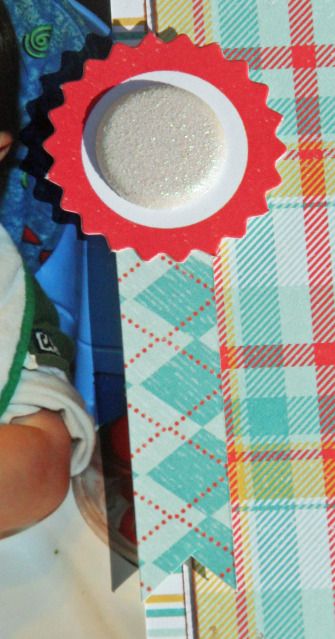
Since I've seen 
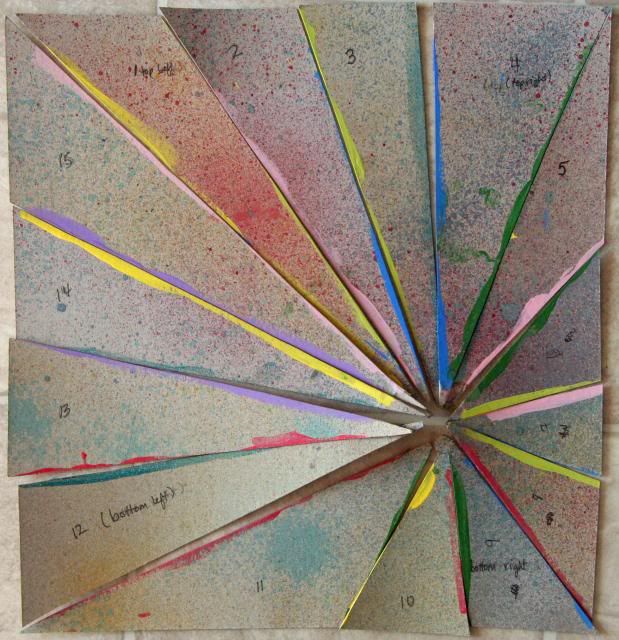
sunbursts lately, that's what I opted to do.  I got out a piece of chipboard - I've saved all backs from stacks and any that come in paper packs - and made the burst how I wanted.  Then I numbered the pieces and cut them out.
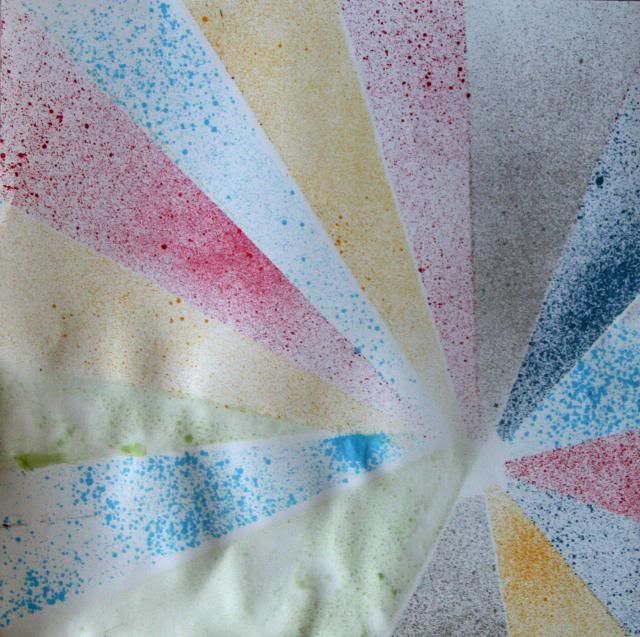


I got out my Smooch spritzes and set to work.  I went slowly and got both pieces just right before spraying.  It all worked really well, except for the green.  I don't have any green Smooch - only Glimmer Mist - and I don't like how muted it is compared to the others.  Guess what's in my online shopping cart now?  :D


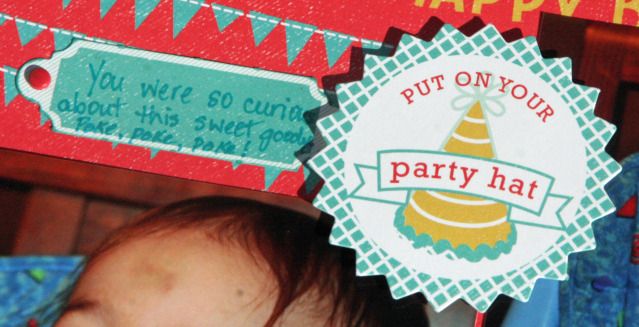
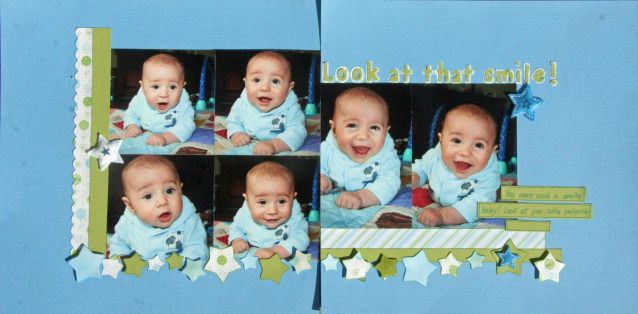
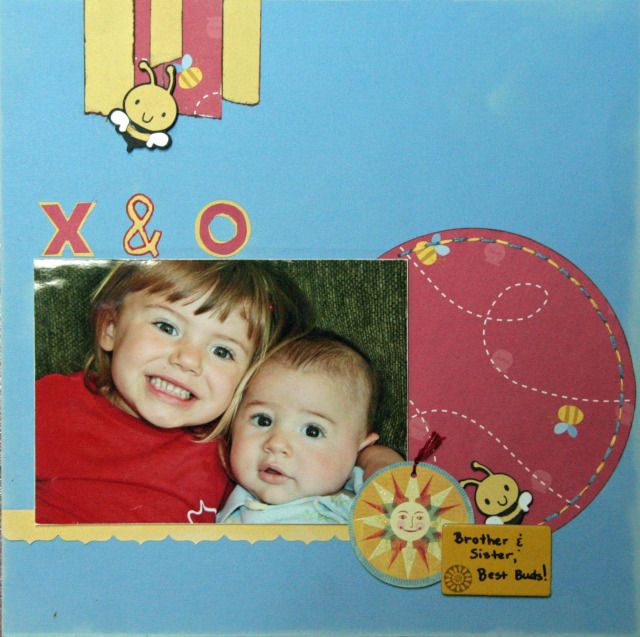
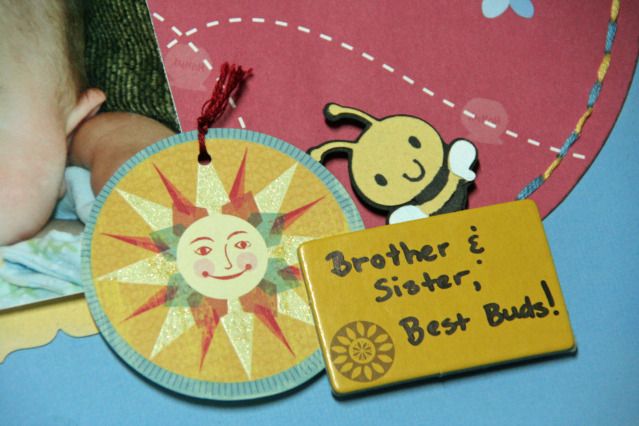
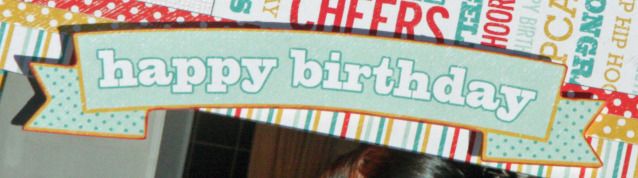
I decided that I needed a little something to the layout so I decided to add some baker's twine for some colour and texture.  I didn't want to cover up too much of the burst so I kept embellies to a minimum.  And here's the end result.


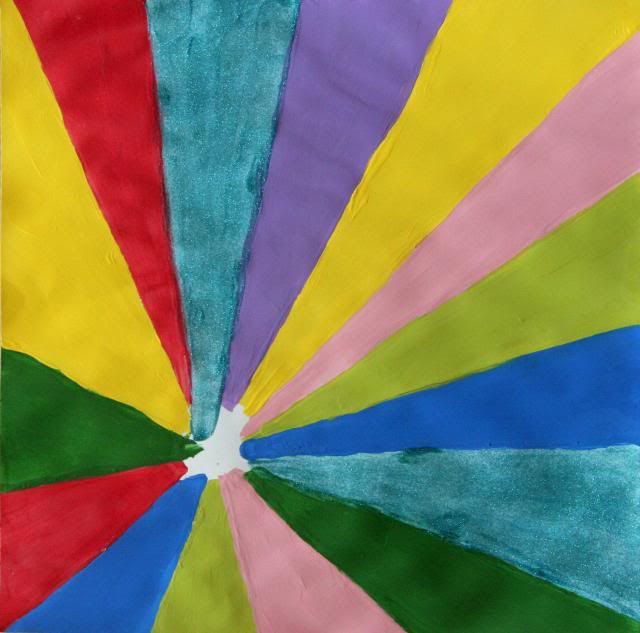
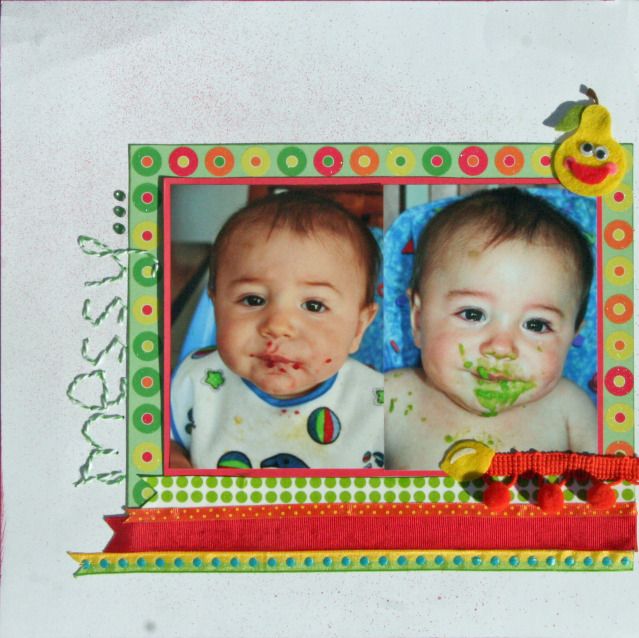
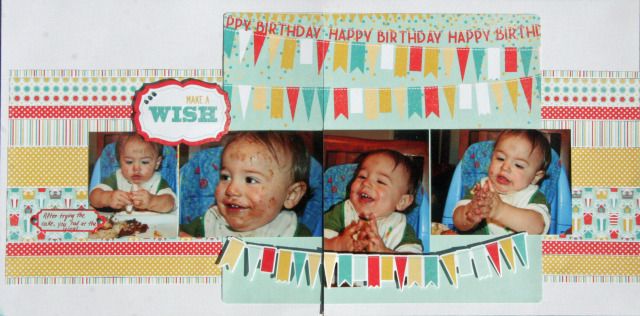
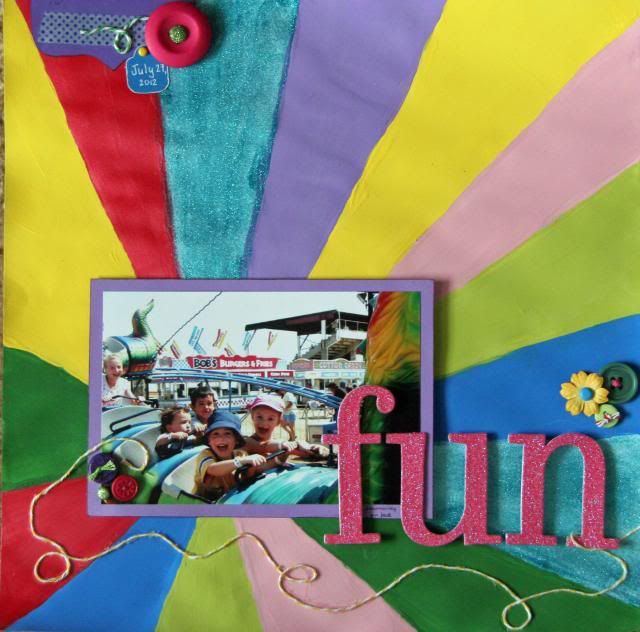
And I had so much fun with the first layout that I decided to try the mask again but using 
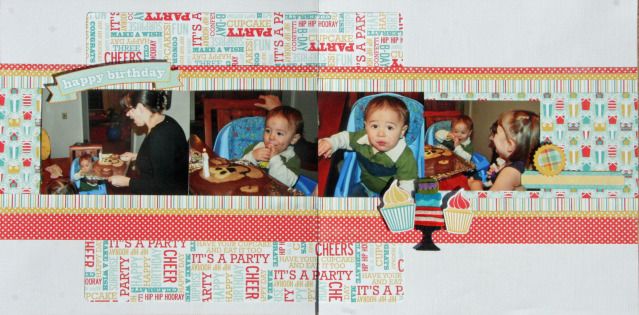
paint this time.  I have to say that this was a lot more time consuming and fiddly.  I had to make sure to press down hard on each ray of chipboard so the paint wouldn't seep underneath.  It was quite tricky.


But I love the vibrant colours of the burst and it is the perfect background for this photo of my kiddos at the fair - bright, fun, excited.

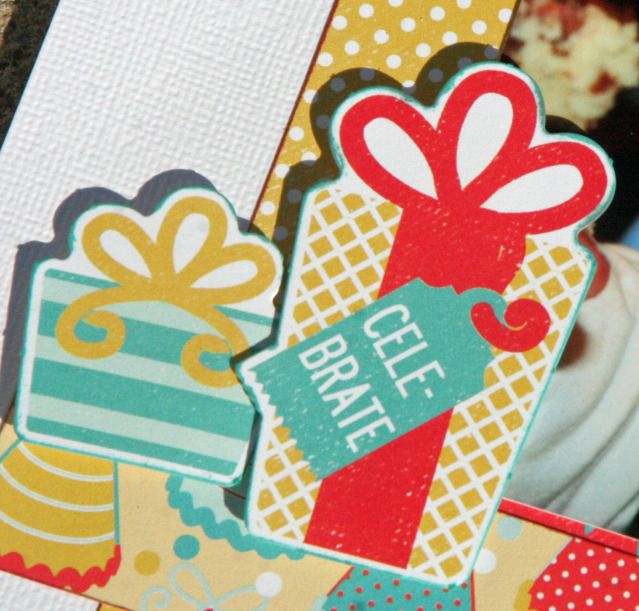
I found it challenging to work with the bursts because I didn't want to cover them up but at the same time the layouts needed something more to make them feel complete.  For this layout, I added a lot more embellishments.  It's definitely not my style but I think they all add to the "fun-ness" of the layout.


Thanks for stopping by and being part of our hop!  I hope that you come away being inspired to do some masking and break out the stencils.  I have a small prize for a lucky commenter.  If you want to be entered to win, leave a comment and I'll choose the winner on Thursday evening (April 11th).  There will also be a grand prize so make sure to go through all the blogs and then comment back at Karen's blog, the first stop.  Winners will be announced on Friday!  I see that there have been some troubles with comments.  I have comments set up for moderation.  So, if you leave a comment and it doesn't appear, no worries, it will once I approve it.  I just don't like Blogger's verification code - I personally always have to redo it at least once so I got annoyed and changed it on my blog.  :)

Your next stop is at Emily's blog:
http://scrappingsomememories.blogspot.ca/

Thursday, February 21, 2013

Dreams

When I first started scrapping A's baby book, I bought quite a few baby themed patterned papers.  I'm not as excited with them as I was then but I'm also bound and determined to use them in his baby album.  And as much as I'm not into them anymore, I really like how this page turned out.  I've finally figured out how to use those themed papers and add enough of my own to make it different.

Everything on this layout is older and I don't know any of the manufacturers!

Wednesday, February 20, 2013

Messy

I love messy-faced baby photos - they're just too cute!!!  I know I've got several layouts already of A's eating adventures but I needed to scrap these photos too. 

Supplies:  PP from DCWV, stitching template from Bazzill, felties (?), twine from WRMK
washi tape, ribbon, pompoms, gems, cardstock

I love how the title looks stitched with twine - it just suits the photos!


I love pompoms but I don't use them often because they have to suit the LO just right.  Well, this was a just-right place!


Tuesday, February 19, 2013

Happy Birthday

And the final layout from the birthday kit from Allison Davis:


Monday, February 18, 2013

Cheers

Here's the second two-page layout I got from the birthday kit from Allison Davis.  I loved all those banners but that took me FOREVER to measure, cut out and then ink.  But they do look great!  :)

So, here are some more of A's first birthday cake.


Saturday, February 16, 2013

Make a Wish

When I bought a couple of Allison Davis's sketch books, I got a free kit.  I'd never used one of her kits before but they're lots of fun and I love that they're for two-pagers and lots of photos.  The instructions are very precise so that you can get the most out of the product that is provided.  She uses up lots of each sheet of paper.  However, you better be sure your measurements are spot on! 

Here is one of the layouts that I did using her kit:


All I added were the blue gems and the little blue brads.

Friday, January 4, 2013

Look at that smile!

I love these photos of little A.  He had such a beautiful smile as a baby and I wanted to make sure to get these photos scrapped of him.

Supplies:  Bazzill cardstock, PP from a DCWV Christmas stack
Puffies felt stars, CM star punches, Fiskars border punch, Cricut cart for title (maybe Pooh?)


Along with popping up some of the stars along the bottom border, I also covered some of them with Glossy Accents to give them some shine and dimension.  And I inked the edges, of course!  I can't imagine not inking the edges of things anymore.


Thursday, January 3, 2013

X & O

I love this photo of K and A and I wanted to do a fun layout with it.


I used an old, old, old piece of patterned paper that I honestly don't remember when I got along with a couple cute bees cut with my Cricut.  The two tags are from my stash and I got them in a Scenic Route grab bag - I don't even know the manufacturers.  I like how the inking makes these little strips stand out.


I really like how the stitching around the circle turned out - it adds a little bit of visual interest but not too much.